Ok, now that i have pictured what i want the character to be, determined how important the characters going to be, and choose which figure i plan on using, now comes the next part clothing the character. There is three ways to cloth a figure, way 1 is paint the outfit on as a skin, i will not be showing that way as i see no need to keep doing that over and over. Way 2 is to make it yourself, I'll be doing that with the skirt in part 3. The last way is to find an outfit that's already made and use it. All three ways has it's own advantages and disadvantages, and I'll explain those real quick and then we'll go to actually making it.
Way 1: Advantages: you can make it any way you want, there will be no-poke though no matter how you change the figure or any pose, it's free.
Way 1: Disadvantages: It's the most time consuming of the three ways, unless you want extreme butt-crack you're really stuck to just tops.
Way 2: Advantages: like way 1 you can make it how ever you want, your free to make any kinda outfit you wish and if you want something like Jack Atlas' coat that defies gravity you can do it. It's free.
Way 2: Disadvantages: while not as long as way 1 it is still time consuming, the chances of poke though are high but because you made it, you can change it to prevent poke-though. you have to color it yourself.
Way 3: Advantages: the least time consuming, it's already done you just have to fit it to the figure in question. it's already colored so you can either leave it like it is or you can find the part that needs re-coloring and do it.
Way 3: Disadvantages: It's NOT free, like Way 2 the chance of poke-though is high and unlike way 2 you can't change the outfit to remove the poke-though.
All right now for the part you all wanted the clothing of Maria Masters Hostess of BMDI.

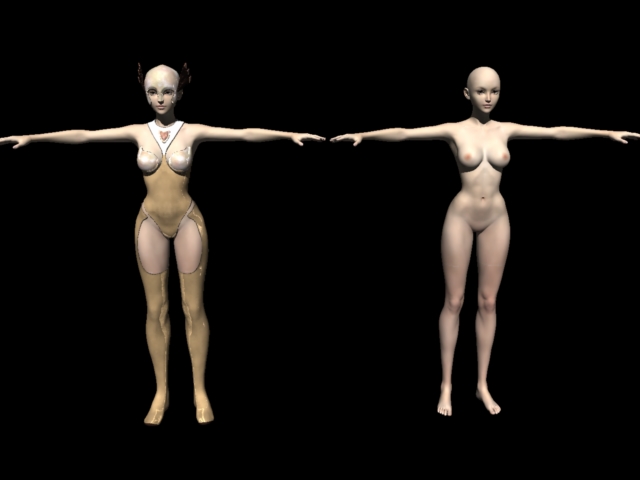
The figure on the left is the completed version the figure on the right is what i'll be working with on this post, don't worry i'll show all the details on how i got the figure on the right to look like the figure on the left. also i won't be showing a boot tutorial cause as you see she is already wearing boots.

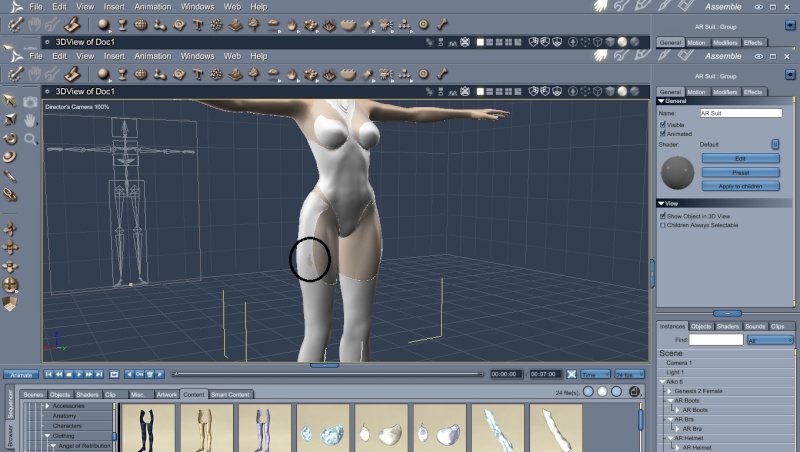
After I load my figure I picked this outfit, I didn't put the bracers on because for some reason I can't explain it crashes Carrara when I try to fit it to the figure called Aiko 6. speaking of fitting, noticed the outfit does not fit here, there is poke-though all over, well there is a feature called fit to which is on the right hand side of the screen half way down. After I load each piece into the scene I'll go and fit each part to the figure, which will be shown in the picture below.

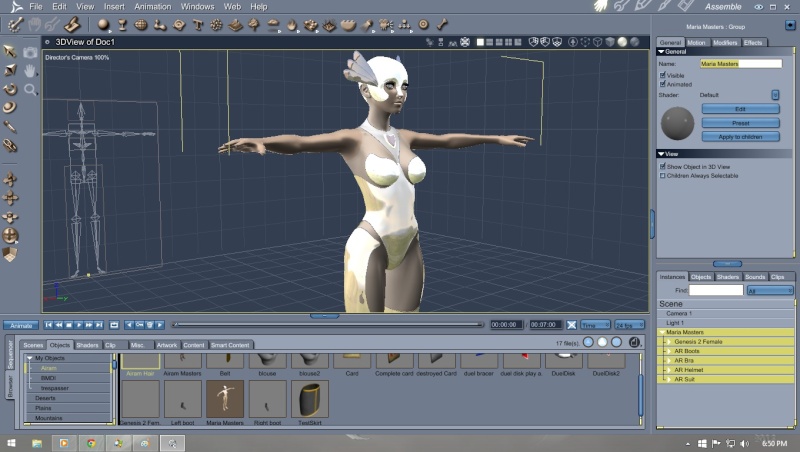
Now that looks alot better everything fits, although there is a little poke-though which i showed with the circle. There is no reason to be conserned because the skirt I'm making in part 3 will cover it up. After I fit each part to Aiko i then nest all the parts of the outfit to her so that when it comes time to save her all the parts will be there as well as when it comes time to load her into a scene it will not be as cluttered. That is something called grouping when there is alotta stuff being able to find the small thing among literally 100s will be a pain. Now there is another thing...it's a bland grey, if you like the color fine, but for me not so much. If you notice at the bottom of the screen there are MAT's, or materials, for the legs, bra, and bracers. I'll be using the gold ones to brighten up the outfit, I could used the shaders to do the same thing but I'll do that with the skirt so for the sake of time, and due to the fact that I like the golden look I'm sticking with that. All i do is simply drag the mat's over to the item of the same type, boot 2 or AR boot and boom golden.

there that looks alot better, now all that has to be done is name the figure to Maria Masters (in this case). Then i'll drag the Maria figure from the lower right hand side of the screen over to the "My Objects" folder and she will be saved. That's really it for the Top and Boots section next one will be the skirt.


